The results table displays the results of the query a page at a time (like Google).
The are 4 sections to a results table:
Results Display
![]()
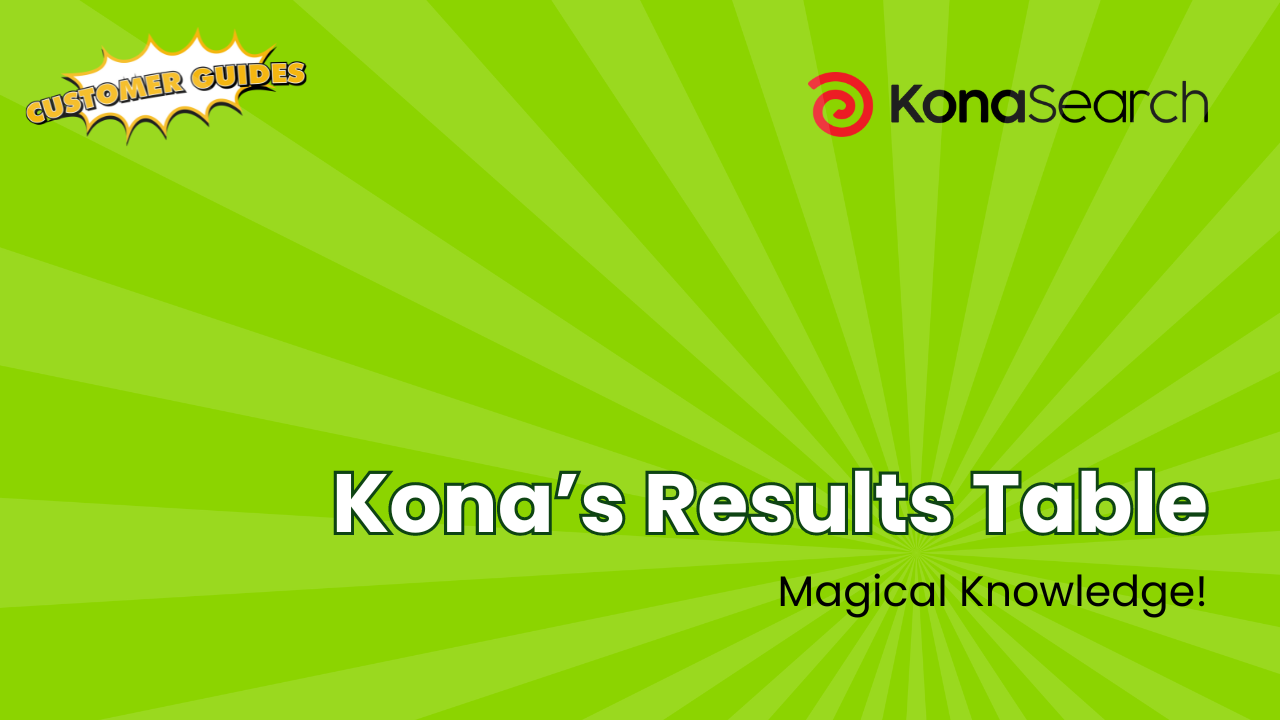
Each row in the results table represents a search result, which could be a single record from a structured source (e.g. an account record from Salesforce, as shown in this example) or a document from an unstructured source (e.g. a PDF file from Google Drive). Each cell in the row can be one of the following:
- The value of a field on the record or document.
- An action control that lets the user do something with the record or document, such as add a note or task, or open its content in a pop-up window.
- Information reflecting an analysis of some sort relating to the record or document, such as a list of the fields the search terms were found in.
The checkbox in the first column allows you to select rows (see later in this section and in the section, “Action Buttons”). Notice the account name “Smith & Mary LTD” and the CEO name “Mary Smith” have URL links attached to them. Clicking these links will open the account record for “Smith & Mary LTD” and the contact record for “Mary Smith” in new window tabs. In general, you can have links for records or files, and they can be in Salesforce or another system like SharePoint.
Notice the snippet of text in the right-most column. This is text from the company’s annual report for this account. Also notice that the terms from the main search box are highlighted in yellow. The snippet is chosen such that the highlighted terms are in the center of the snippet. The column to the left of the snippet displays a document icon. This is a control you can click to open the document itself.
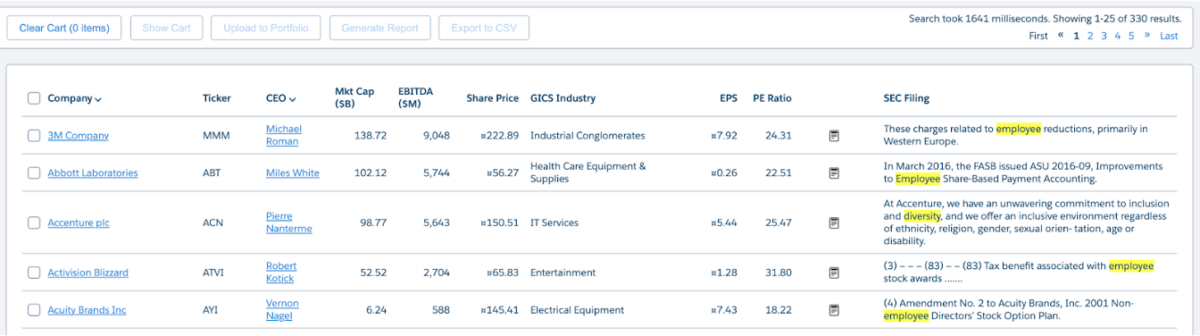
Column Headers
![]()
The column headers identify the fields whose values are displayed in each column. They are also your means for sorting the results. Clicking a header will sort the results in 3 ways:
- Relevance (like Google search, most relevant result for the query first, and so on)
- Ascending (alphabetic, numeric, chronological)
- Descending (alphabetic, numeric, chronological)
Repeatedly clicking the header will rotate through these 3 different sort types. In our example, we are currently sorted alphabetically (ascending) by Company name.
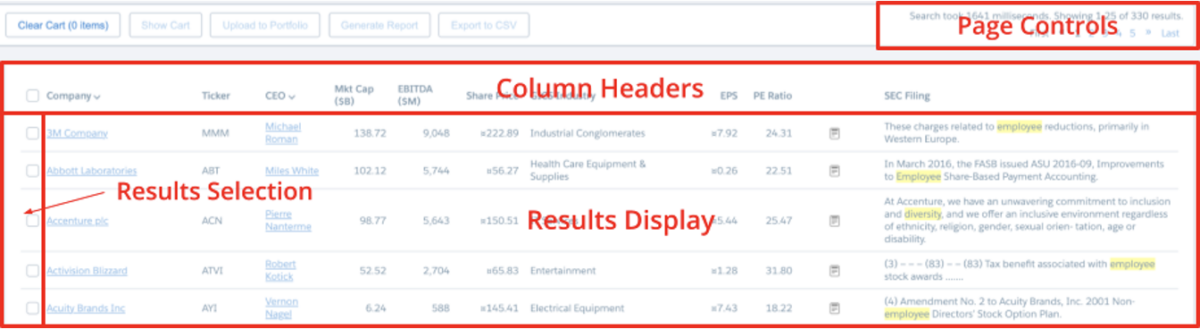
Notice the sort status is updated in the upper right corner of the page:
![]()
Page Controls
![]()
The number of results for any given search query can range from a single result to the entire index, which could be millions of records. At some point the list becomes too large to display in your browser. So, the results are divided up into pages of equal size (like Google web search), and page controls appear above and below the results table so you can navigate them. The controls let you jump to:
|
|
A status message is placed above the controls that tells you how long the search took to run, which page of results you are currently seeing, and the total number of results for the query.
Results Selection
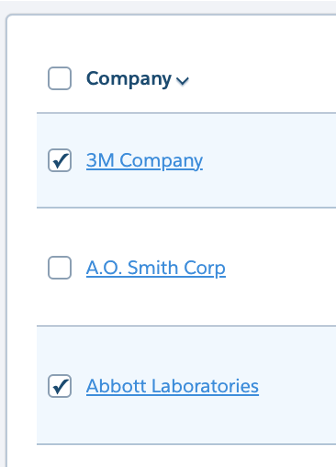
Down the left side of the results table is a column of checkboxes. Selecting the checkbox selects the row. You can select rows individually, or all rows on the current page by clicking the checkbox in the column header. Why would you want to select results on a search page? To do something to them, for example, exporting the selected results to an Excel file, or to a Salesforce report, or to any Salesforce Flow or Apex function (see “Action Buttons” later in the document).
You can also select results from multiple pages. We call this our shopping cart. Every time you select results they get added to the cart. When you are ready to export them to a function, the entire cart is sent. A “Clear Cart” button is also available in the Action Button area.
The next action depends on how your page is configured. Usually, the cart is emptied automatically after the query is run, but the page can be configured so that it is only emptied when the “Clear Cart” button is selected. This happens when you are allowed to add results from different searches to the cart. If this is supported on your page, you will also see a “View Cart” button that allows you to view the contents of the cart.